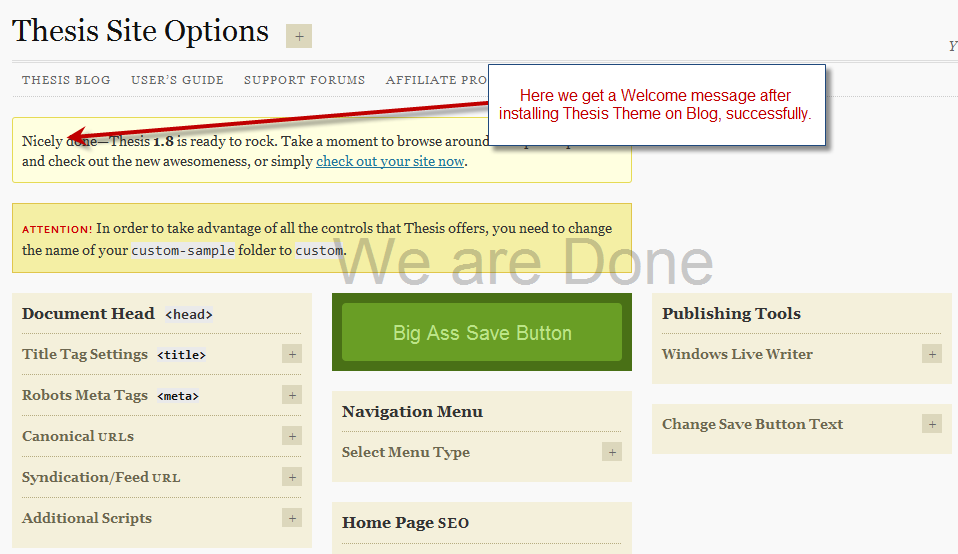
A Thumbnail on a blog page makes it alive and increase more visits on articles.
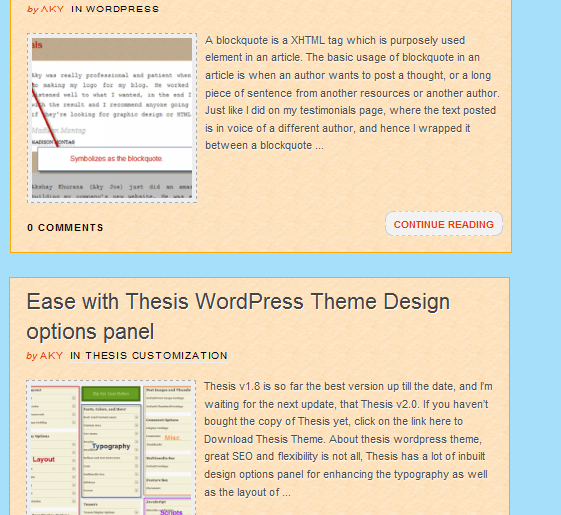
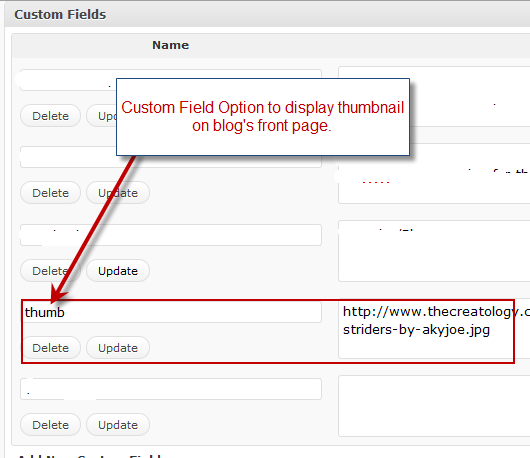
Some premium themes features to add thumbnail using the custom field, like in Thesis WordPress theme you can customize a thumbnail and add it on blog page. But, custom field option can be complicated and time consuming process from bloggers.
At present, most of the blogs are using plugins like thumbnail-for-excerpts to show thumbnail on front page, which saves time & complexity. But the only issue I find using plugins is that it increases more of php calls, hence increasing server load and slow page loading. This post will guide to auto generate thumbnail in Thesis Theme without using any Plugin or custom fields.
This article is only for blogs using Thesis WordPress theme, and if you are interested in thesis theme you can Download Thesis Theme here.
The analogy behind the tutorial will integrate a function to get the first image from the post content, and further that image will be resized using the TimThumb open source script, to generate a thumbnail. Below is the procedure in detail to add thumbnails in Thesis Theme without Plugin:
Step 1: Get TimThumb.php open source script
TimThumb.php is an open source script and you can download it and place it in the custom folder of the Thesis theme directory. You can also open the script in the web browser and copy-paste the code in a text file and save is as TimThumb.php
Step 2: Add code in Custom_Functions.php
Once we have placed the TimThumb.php file, we now have to add code in custom_functions.php file located in custom folder. The code is divided in to two sets of functions. One will get the first image from the content, and will be initialized using init function to invoke default values. Other part contains code to show Thumbnail before post.
Code to get first image from the content:
[php]
//Get Image Function
function get_image_joe(){
global $post, $posts;
$first_img = ”;
ob_start();
ob_end_clean();
$output = preg_match_all(‘/<img.+src=[\’"]([^\’"]+)[\’"].*>/i’, $post->post_content, $matches);
$first_img = $matches [1] [0];
if(empty($first_img))
{ //Default Image Path
return $first_img= "/images/default.jpg";
}
else
{
return $first_img;
}
}
add_action(‘init’, ‘get_image_joe’);
[/php]
Code to show thumbnail before post:
[php]
//Auto Generate Thumbnail
function auto_thumb_joe(){?>
<?php if(!is_single() || !is_page()){?>
<div class="thumbnail">
<?php $values = get_post_custom_values("thesis_thumb");
if ($values) { ?>
<a href="<?php the_permalink() ?>" title="Click to read more on<?php the_title(); ?>"><img alt="<?php the_title(); ?>" src="<?php $values = get_post_custom_values("thesis_thumb"); echo $values[0]; ?>" /></a>
<?php }
else {?>
<a href="<?php the_permalink() ?>" title="Click to read more on<?php the_title(); ?>" ><img src="<?php bloginfo(‘template_directory’); ?>/custom/scripts/timthumb.php?src=<?php echo get_image_joe(); ?>&h=150&w=150&zc=1" alt="<?php the_title(); ?>" width="150" height="150" /></a>
<?php }?>
</div>
<?php }}
add_action(‘thesis_hook_before_teaser’,’auto_thumb_joe’);
[/php]
Place the above code in custom_functions.php file in Thesis folder make sure you do it precisely, else it might crash your access to WordPress Dashboard.
In above code you can specify width and height of the image as well according to your requirement, for instance I have specified 150 x 150 as a standard thumbnail size.
Step 3: Thumbnail CSS Styling
Everything needs a finishing touch, and here we do it by adding some styling to the thumbnail generated. Below is the code which will float thumbnail on left of the content excerpt. If you want the thumbnail to float on right, you can simply change the below code with float property. Here is the CSS code:
[css]
.thumbnail {
float:left;
background:#EEE;
border: 1px dashed #aaa;
margin: 3px 10px 0 20px;
padding: 5px;
}
[/css]
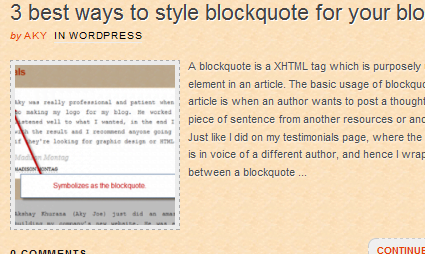
Place the code in the custom.css file located in custom folder of Thesis theme directory, and refresh to result something like this in the screenshot below:
With this we come to end of this tutorial, with no more pain uploading images or depending upon the plugins. If you have any query or require any further assistance, post your feedback as comments below.
If your WordPress blog is currently using a custom theme, then you can redesign it using the Thesis Theme Services.